Tuesday, December 14, 2010

Bread Class at Hill's Kitchen


Last weekend it was cold and blustery (as it seems to be on a regular basis here in DC these days), so it was the perfect day to take a cooking class! I headed on down to Hill's Kitchen (http://www.hillskitchen.com/) for a class on Overnight Breads. Mmmm, warm fresh bread with butter, doesn't that just make you cozy thinking about it?

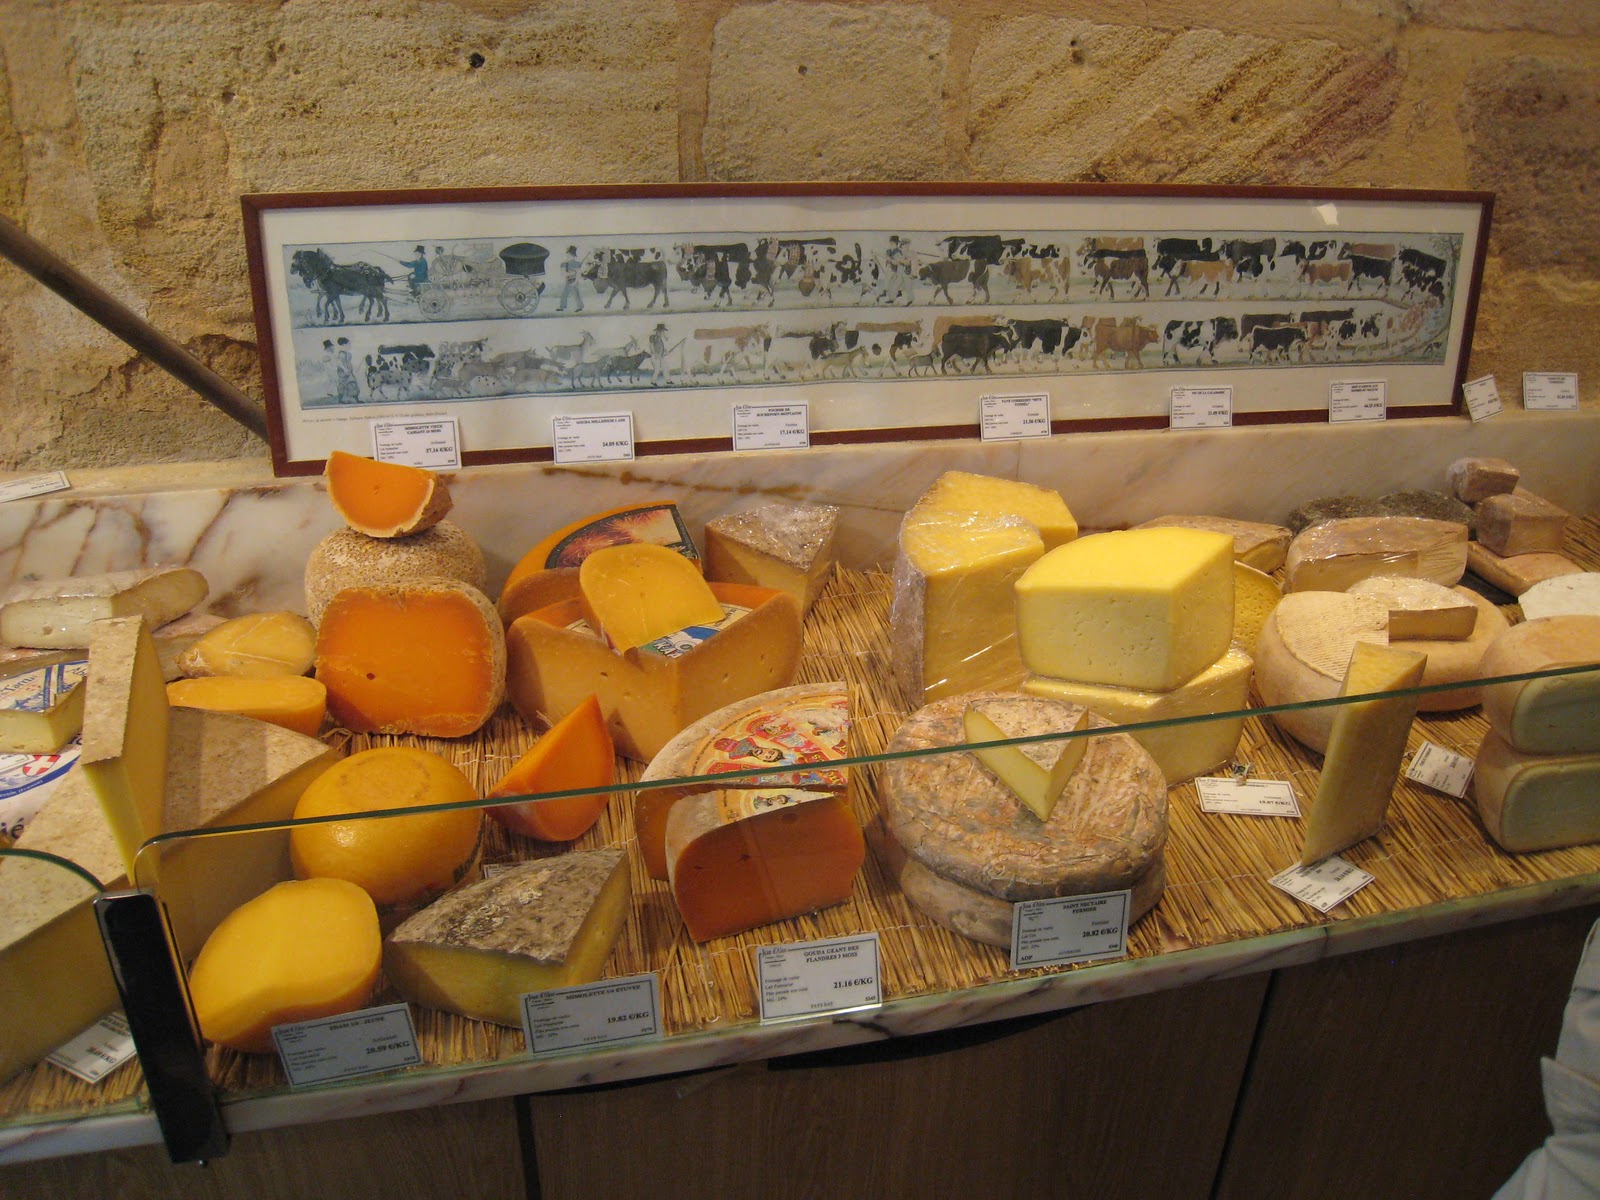
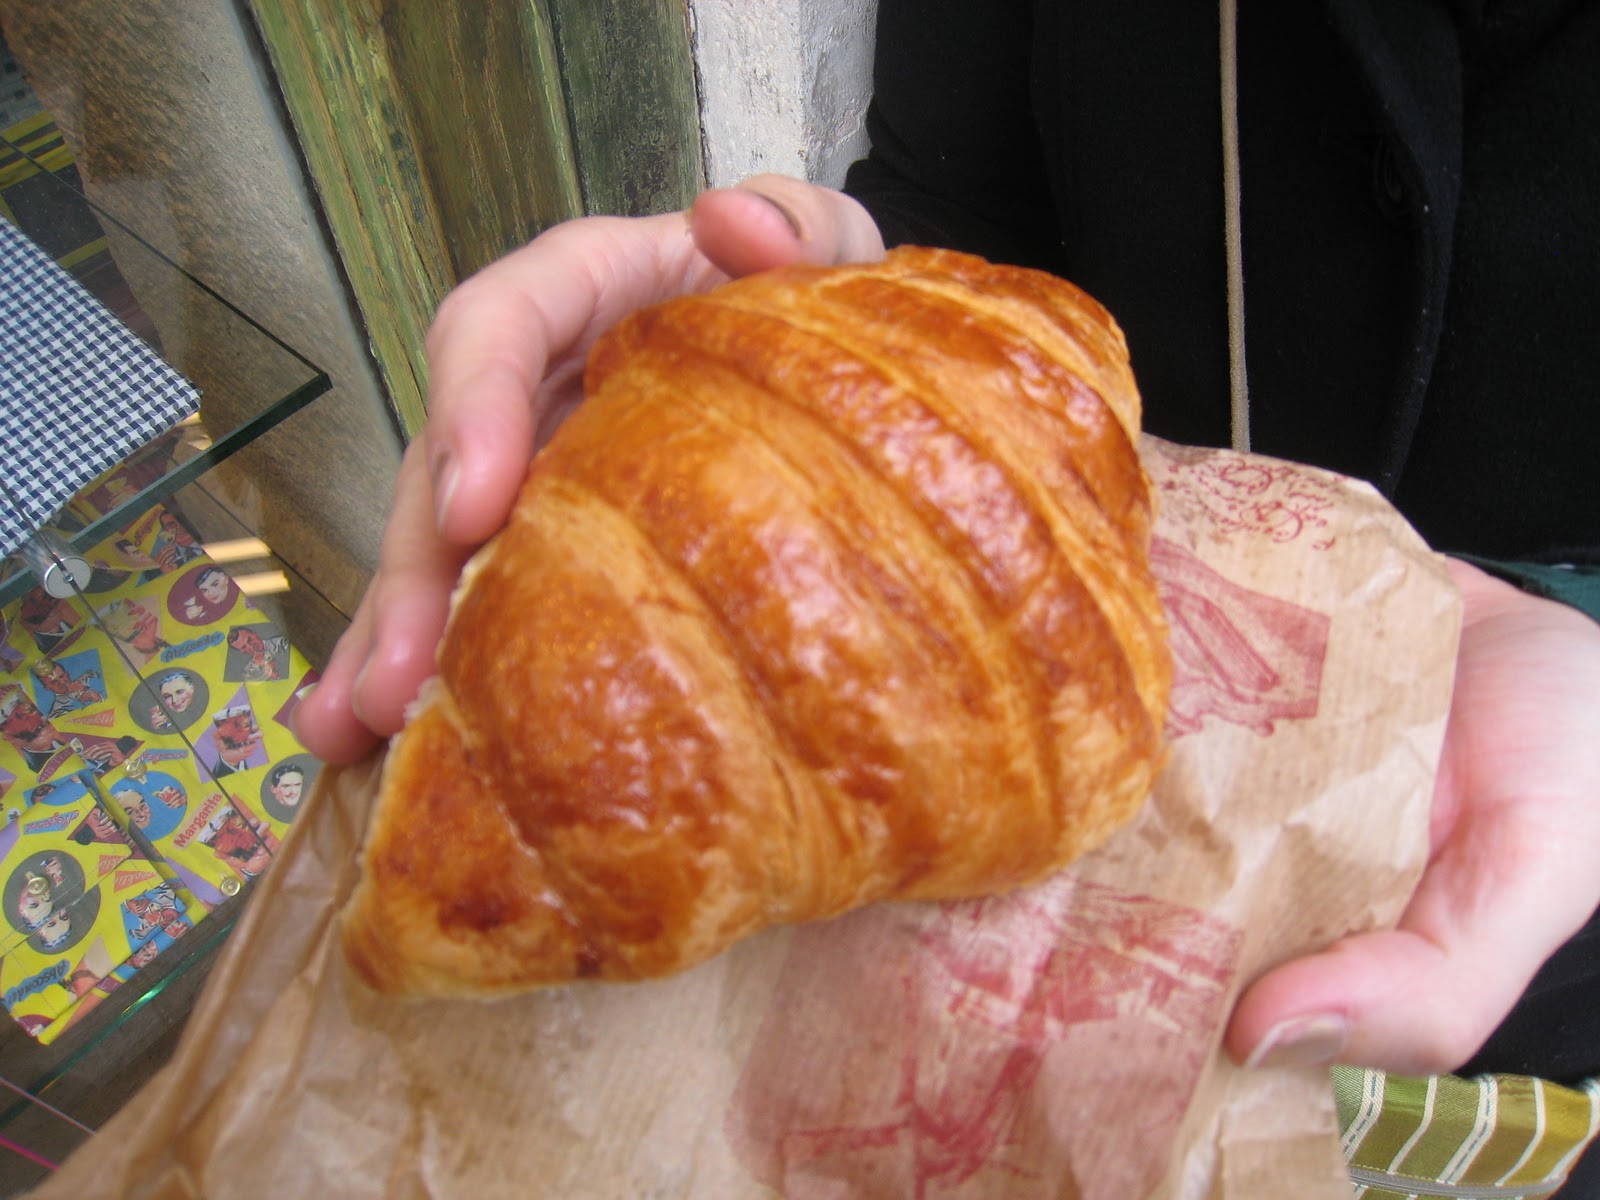
Since my recent trip to Paris, I've been thinking that I need to make more bread. Have you ever looked at the list of ingredients on a loaf in the store - what is all that stuff?? Bread shouldn't have in it much more than what you can count on one hand, give or take a couple things, depending.....

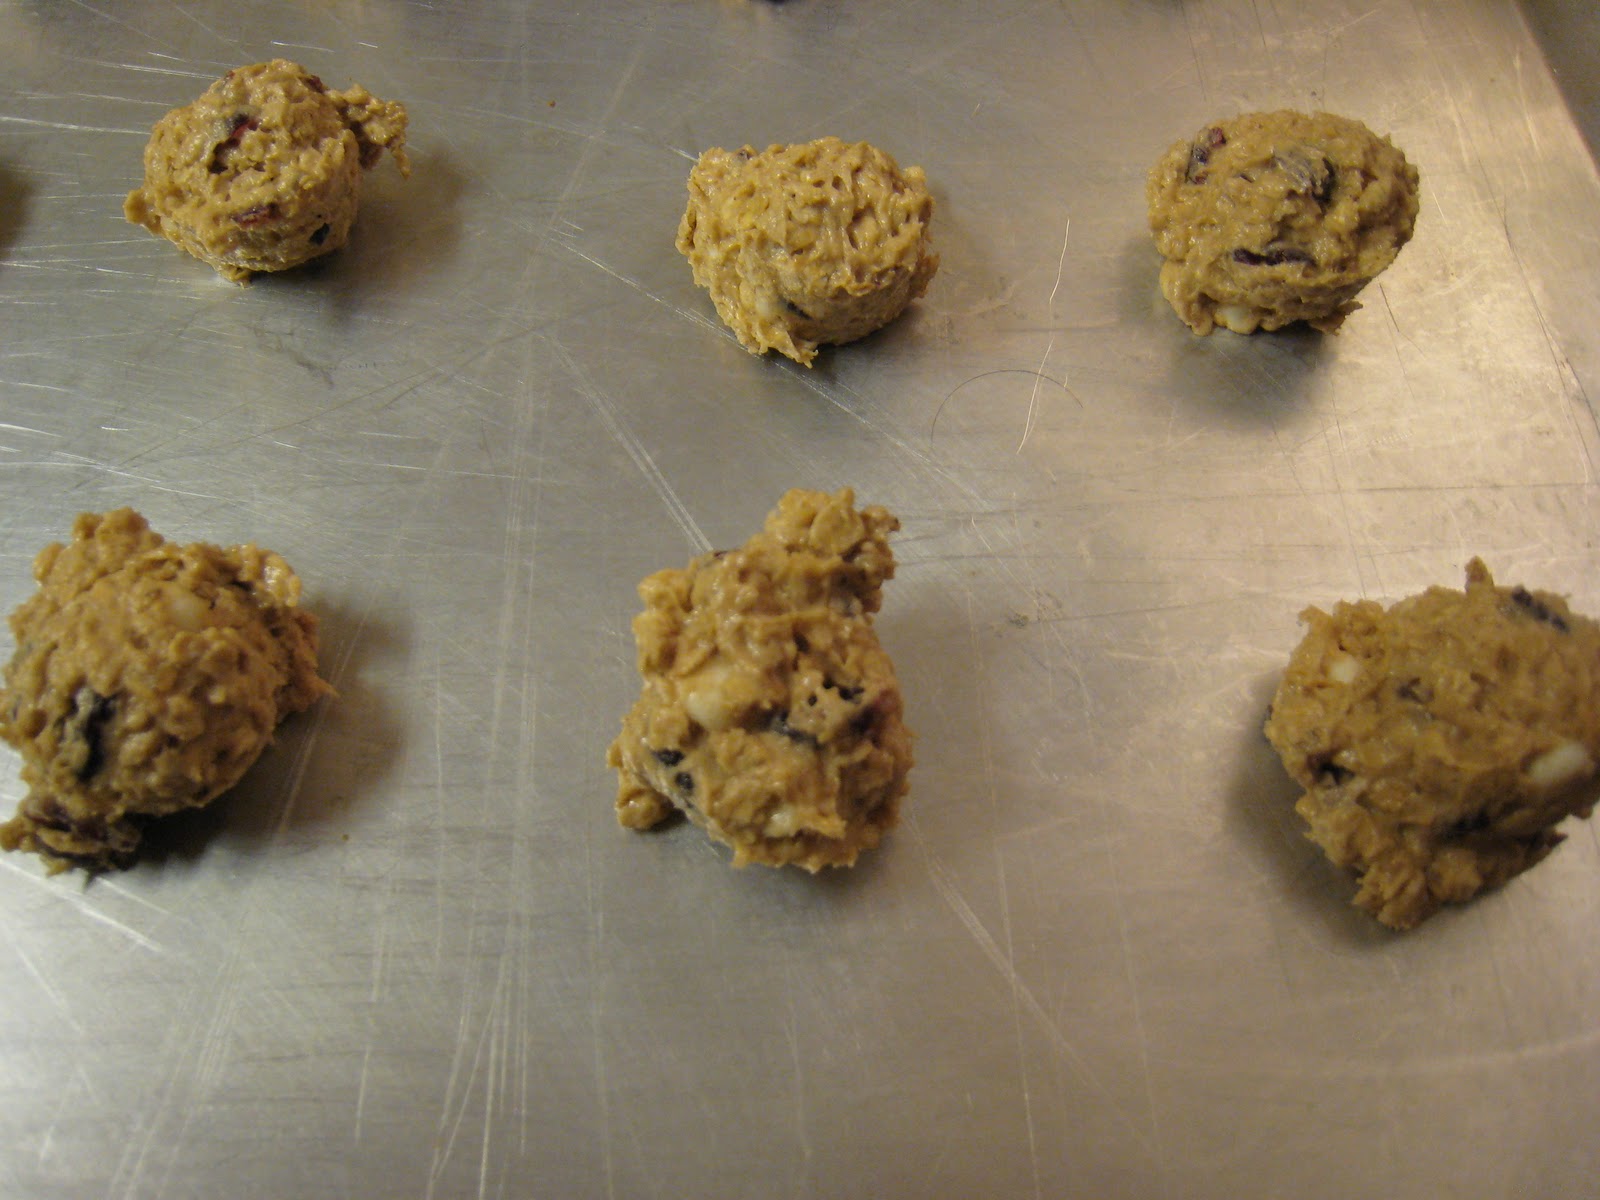
The class was taught by Jane Griffith, a local baker who has known the owner of Hill's Kitchen since she was a little girl. She had moved out of the area for a while to study with a baker in the Berkshires, but now she's back and making bread for local bakeries. This was only her second class and I have to admit, it was obvious, as the instructions were a little scattered and confusing at times. But it was also obvious that she has a vast amount of knowledge regarding tips and techniques and the chemistry of bread-making. She showed us how to make two kinds of bread - a whole wheat made in a dutch oven and an oatmeal loaf.

She talked about the "revolution" that is starting to erupt in the US - finally we are starting to realize that the old-school artisanal European bread makers have got that shit down, and perhaps its time to emulate what they're doing! My mom is a phenomenal bread maker and has been as long as I can remember. Recently she told me of one of her techniques for making a nice crust on baguettes - open the oven on occasion and spritz some water in with a little spray bottle. Wouldn't you know that the teacher in this class told us that European breads are often so good because they use steam ovens? Way to go mom, you just gained even more credibility! The extra moisture from the steam helps keep the bread moist on the inside and give it that crunchy crust that keeps you coming back for more. God, I'm getting hungry just thinking about it.....

Here are a few great resources for bread making if you're willing to give it a shot:

- Beard on Bread by James Beard
- Tartine Bread by Chad Robertson and Eric Wolfinger
- Artisan Breads Every Day by Peter Reinhart

J&G Steakhouse at The W Hotel

A couple weeks ago I went out with some friends for a birthday celebration.  I'd still never been to The W since they transformed it from Hotel Washington so I was super excited to check it out.

When I first walked in I was immediately in awe of the gorgeous crown molding on the ceiling, the huge light fixtures and the very chic feel of the place.  It was like being transported to some fancy European boutique Hotel - or one in Miami for that matter!  Even with little to no bar crowd that Thursday night, there was a DJ spinning some very fun clubby music.  I hope some people showed up later to enjoy it!  Everything was tastefully decorated for the holidays and the permanent decor was of good quality.  I couldn't wait to get in to J&G (www.jgsteakhousewashingtondc.com ) and try the food, especially I've never been to a Jean-Georges restaurant.... 

As it should be at a steakhouse, all of the meat was delicious- all four of us ordered beef of some sort and I tried 3 of the 4 dishes - yum!  The homemade béarnaise sauce was absolutely delicious and the perfect complement.  Their steak sauce as well as a couple other sides seemed to have anise in them, which is a total hit-or-miss flavor, and for our table it was a big miss, so that was a bit of a disappointment.  Really, who puts anise in grits anyway?!?  Bleh!

Anyway - a few must-haves: 

- Baby iceberg lettuce salad
- Any of the steaks or the short ribs
- Potato Gratin
- Salted Caramel Ice Cream Sundae - with caramel popcorn, chocolate sauce and crushed peanuts - amazing!!

The service was great, our server was knowledgeable and helpful but not at all overbearing, and we even got a complimentary dessert in addition to our sundae for the birthday boy.  For a special occasion, definitely give them a try! 
Wednesday, December 1, 2010

Thanksgiving Feast


Another holiday come and gone, and a good one it was.  I volunteered to do the cooking this year as there was a chance I wasn’t going to have a turkey dinner otherwise, and I just couldn’t let that happen!  Only problem with doing all the cooking, was that I was also running a 10K Thanksgiving morning…my first….and I wasn’t sure I’d survive considering I haven’t run that far since early high school, which was – let’s just say a bagillion years ago…

Anyway, despite the cold rainy weather, the race turned out fine and the dinner was even better!  Here’s what was on the menu:

Turkey
Green beans
Creamed Corn
Carrot Tart
Mashed Potatoes
Cranberry Sauce
Rolls (cheated and bought these)
Pumpkin Pie

For the turkey, I combined a couple recipes.  I don’t have a proper bucket or pot to brine the bird, so I opted for an overnight salt rub which I found in November’s Bon Appetit.  It combines kosher salt, oregano, garlic, lemon zest and black pepper.  You coat the turkey and rub some inside the cavity then let it sit in an oven bag in the fridge for 18-24 hours.  The next day you rinse off the rub and go from there.  I then moved on to a recipe from a Bon Appetit from 1994 for an herb rub.  Basically you combine rosemary, thyme and tarragon and rub it all over the bird.  Then you pour melted butter over the whole thing and roast.  I’m not sure if it was the salt rub, the herb rub, the fact that we had a fresh free range turkey or the combination of all three that made it so tasty, but I would definitely repeat this method!

Green beans are easy – just boil long enough to keep a little bit of bite and not lose the green color.  Salt and pepper if desired.

The creamed corn is a new favorite recipe.  I know I know, you hear creamed corn and you think “gross!” but I promise, that is not the case with this.  Its called “Better Than Grannie’s Creamed Corn” and the recipe is by the one and only Alton Brown.  It is a MUST try!! http://tinyurl.com/2emuyhu

The carrot tart is a show stopper for its looks alone.  Its gorgeous!  Its pretty tasty too.  In fact, my guests liked it so much, one of them has commissioned me to make one for her Christmas party in a couple weeks.  I hope that one turns out as well as this one! (Recipe from the cookbook Big Night In by Domenica Marchetti)

A guest provided the mashed potatoes (thanks again!).  As simple as mashed potatoes may be, they are labor intensive and time consuming, so having someone else handle them took a load off my mind!  They were delicious, and they made a great topper for the Turkey Shepard’s Pie I made on Saturday. Yum.

For the cranberry sauce I used a recipe I found on The Bitten Word (http://thebittenword.typepad.com/).  I am (only slightly) ashamed to admit that I kind of like that perfectly molded tube of what-may-not-actually-be-cranberry sauce.  Of course I couldn’t serve that though.  My parents make a cranberry-orange relish every year – complete with clamping the grinder onto the counter and churning out the berries.  That happens to be a flavor combination I just can’t get into, so when I saw this recipe that included pomegranate juice I knew I should give it a try.  It was the perfect complement to the turkey and had a wonderful bright fresh flavor.

Finally, dessert.  I have had lots of pumpkin pie over the years and I have to say, this is one of the most delicious ones I have ever had.  And where else would the recipe come from but my good friends at King Arthur Flour!  They give the tip to make the filling the day before and let it refrigerate overnight so the flavors can meld.  It must have worked because this was definitely sweet, spicy, perfect pumpkin pie.

On to the next holiday and more delicious food…..but only after a trip to J&G Steakhouse at the W Hotel tomorrow night…review coming soon.


Wednesday, November 3, 2010

Bonjour la France!

I've been slacking on writing again....I promise I'll try to do better in the coming weeks, especially with the holiday cooking/baking season kicking into high gear.  In the meantime, I wanted to share some photos from my recent trip to France where I went on the anti-Atkins diet and consumed more baguettes and croissants in 9 days than one would think was possible!  YUM!  Don't worry, I washed it all down with plenty of red wine...

So, a little about the visit...  I went to Bordeaux for a few days to visit some friends.  We went to 3 Chateaus in a little town about 40 minutes outside of Bordeaux called St. Emilion.  It was the cutest freaking town....if you ever get the opportunity - go!  We visited Chateau Franc Mayne, Chateau Mauvinon and Chateau Gaudet.  Franc Mayne had the most interesting tour through their caves, which are actually old mines from when limestone was being excavated to build the surrounding towns.  Very cool.  The following day we visited one more, just on the outskirts on the city, called Chateau Pape Clement - this was definitely the most chi-chi of them all. The owner of this one owns 36 others around the world!  After Bordeaux I headed up to Paris for the first time ever...such a gorgeous city, I'll definitely be going back.  Anyway, let’s get to the point - the pictures - enjoy!

Bordeaux - obviously this is wine country...


Fall is starting to settle in on the vines


Yes, that says 1893


**NOTE**  You can click on any of the pictures to make them bigger.
Wednesday, October 6, 2010

Butternut Squash Extravaganza!!!!


I love fall.  It is my absolute favorite season.  I love the crisp, fresh air with that chill that makes you want to bundle up in a cozy sweater....or more likely for me, a turtleneck (and despite what people may say, it IS possible to make a turtleneck look sexy!). 

So what else would be on the menu, but soup!  Butternut squash soup is one of my go-to fall meals.  I don't care for the sweetened up version with apple juice or cider, I like the kind with a kick - bring on the cayenne, that'll really warm you up.  Here's the squash I used to make it, fresh from Homestead Farms out in MD - a true "butt"ernut if I do say so myself!


Ingredients

1  2-2 ½ pound butternut squash – halved lengthwise and seeded
2 cups low-salt chicken broth
1 cup nonfat milk
1 small onion – chopped
Pinch of grated nutmeg
Pinch of cayenne pepper – to taste
Salt and pepper – to taste

Instructions

Preheat oven to 400°.  Coat 13”x9” glass baking dish with cooking spray.  Place squash cut side down in dish.  Pierce each half several times with knife or skewer.  Bake until tender, about 45-50 minutes.

While squash is baking, sauté onions with 1-1 ½ tablespoons of butter on medium heat and stir frequently until caramelized.  Season with salt and pepper.  Set aside.

When squash is finished baking and slightly cooled, scoop it into a food processor, one half at a time.  Divide other ingredients – onions, nutmeg, broth and milk – between the two batches.  Puree until smooth.  Pour the soup into a medium sized saucepan.  Heat thoroughly adding salt, pepper and cayenne to taste.  

_______________________________________________

If you're not that into soup or just feel like something else, another way to have butternut is cut up and roasted as a side dish.  Here's what I do:

Preheat the oven to about 425°.  Peel the squash, slice it in half lengthwise and scoop out all the seeds and goop.  Cut it into chunks about 1" in size.  Spread the chunks on a jelly roll pan in a single layer.  Pour some olive oil and canola oil over them (olive for flavor, canola because it has a higher smoke point), then sprinkle with garlic powder, salt, pepper and little nutmeg.  Mix everything up with your hands and make sure all pieces are well coated.  Roast in the oven for about 20-30 minutes or so.  I usually check on them every 10 minutes, give them a turn and poke them with a fork.  Bake until your desired doneness.  *Note, when they start to caramelize a little on the edges they are AMAZING!

I wonder what else I can do with butternut squash.....I'm thinking scones are next, or maybe rolls.  What do you think??
Thursday, September 23, 2010

Chicken Cacciatore


This dish started with a recipe at some point, likely from The Washington Post, but I haven't referenced one in years.  I eat a lot of chicken so I am constantly looking for things to do with it.  I had cacciatore at a friend's house many many years ago and have been making it and tweaking the recipe ever since.  Its a great hearty comfort food that isn't too heavy.  I think at this point, my mish-mash of ingredients is quite consistent from batch to batch so I thought I should finally write it down.  Here goes!

Ingredients
(enough for multiple servings)

4-5 boneless skinless chicken breasts, cut into 1" chunks
1 large or 1 ½ medium yellow onions, cut in a large dice
3-4 Bell peppers, cut in a large dice (definitely use at least one green for that peppery flavor)
3 cloves garlic, minced (or about 1 tsp garlic powder)
2 28oz cans tomatoes (stewed or diced work very well, but for this batch I used whole peeled San Marzano tomatoes that I mashed up in the pot)
1 small can tomato sauce (optional/if necessary, depends on how thick you want the sauce)
Couple splashes of wine (white preferred but red will work in a pinch)
1 tsp dried oregano
1 tsp dried basil
½ tsp dried parsley
Couple pinches cayenne pepper (optional)
Salt and pepper to taste
Olive oil

Instructions

In a large pot with some olive oil, cook the chicken on medium-high heat until just beginning to brown on all sides.  Season the chicken with salt and pepper and anything else you may like (I highly recommend McCormick Chicken Seasoning).  When starting to brown, remove from pot and set aside - it will finish cooking later in the sauce.

Add the onion and garlic to the pot with a little more olive oil if necessary.  Cook until the onion begins to become translucent, then add the peppers.  Cook for a few minutes until the onions and peppers have softened.  Add the tomatoes and sauce, if using, followed by all of the herbs, wine and cayenne.  Give everything a good stir then turn down the heat to medium-low, cover and let simmer for 10 minutes.

After 10 minutes add the chicken back to the pot, including any juices that have accumulated.  Stir to combine and once again, cover and let simmer for 10 minutes.  Do this one or two more times, tasting each time to see if you need to add anything - more spices, garlic, salt, etc.

After 30 minutes or so of simmering you should be good to go!  I have seen cacciatore served over both rice and pasta. I personally prefer rice and I typically use long grain brown rice - gotta make sure the carbs you take in are healthy ones, right?  One note - a general rule of thumb, at least in my kitchen, is that rice should almost always be cooked in some sort of broth or stock rather than water, its a great way to add a little more flavor.  For this dish, I use chicken broth.  Enjoy!


Road Cookies - Oatmeal White Chocolate Cranberry


If I could, I'd make cookies on a regular basis and keep a well-stocked cookie jar easily accessible.  And I guess while I technically could, I'm not sure my waistline would appreciate it.  Whenever I have an excuse to make some though, I am all over it. 

Some friends and I went to Deep Creek Lake over Labor Day weekend, which meant - road trip!  These cookies, which as it happens, are filled with whole grains and antioxidants, are the perfect road cookie.  They are salty and sweet and seriously delicious.  If you get a little hungry on the road but don't want to stop, these will definitely tide you over for a while.  And I have yet to meet someone who doesn't like them. 

It starts with the good old "Vanishing Oatmeal Raisin Cookies" recipe from inside the lid of Quaker Quick Oats, but then I made some adjustments to suit my taste, so I'm going to deem this as another "S Original".  Oh, and just pretend you didn't notice that the first ingredient is a full 2 sticks of butter, because everything really is bettah with buttah....

Ingredients

½ pound (2 sticks) softened butter
1 cup firmly packed brown sugar (I try to mix light and dark if I have both on hand)
½ cup granulated sugar
2 eggs
1 tsp vanilla extract
1 ½ cups AP flour
1 tsp baking soda
1 tsp cinnamon
¼ - ½ tsp nutmeg
½ tsp salt
3 cups uncooked Quaker Quick Oats (old-fashioned will work if you don't have quick)
Dried cranberries - a couple handfuls
White chocolate chips - a couple handfuls

Instructions

Preheat the oven to 350 degrees.  In a medium mixing bowl add the flour, baking soda, cinnamon, nutmeg and salt.  Stir to combine and set aside.  In a large mixing bowl beat together the butter and sugars until creamy.  Add the eggs and vanilla and beat well.  Slowly add the flour mixture and stir until well incorporated.  Stir in the oats, cranberries and white chocolate chips.  3 cups of oats will look like a lot, but trust me, it should all be added.  As for the cranberries and chips - I usually just eyeball it and add as much as I think looks good, it probably comes out to just over 1 cup of each.

Drop the cookies in rounded tablespoons onto ungreased cookie sheets.  Bake 10-12 minutes or until golden brown.  Cool for a minute on the sheets then transfer to wire racks to cool.  These cookies are pretty delicate, especially when warm, so use a spatula with a nice sharp edge that will slide under them easily.  Makes about 4-5 dozen.  Store in an air-tight container to keep them chewy.


Thursday, September 2, 2010

Lime Cupcakes - Baking Contest Attempt #1

IMG_1486

So I didn’t win the cupcake contest at the DC “State Fair” (bummer!), but I still think these cupcakes are really delicious.  Maybe the judges didn’t like my non-traditional use of tulip papers, or maybe they aren’t fans of citrus or maybe I’m just trying to make myself feel better….  At any rate, if you like lime (or even if you think you don’t – ahemmm JM!) you should try these cupcakes.  The fresh fruit taste mixed with the cream cheese icing is quite a tasty combination.

As for the contest – this definitely won’t be my last – who wins on the first try anyway, right?!  Check out all of the DC State Fair follow-up here:  http://www.moderndomestic.com/2010/08/the-dc-state-fair-a-sweet-success/  See if you can spot mine in the pictures of the cupcakes…

Ingredients:
Recipe adapted from http://www.lanascooking.com

1 cup AP flour
IMG_14803/4 cup self-rising flour*
1 stick butter, room temp
1 1/4 cups sugar
2 large eggs
2 1/2 tbsp fresh lime juice
1 tbsp finely grated lime zest
13 drops yellow food coloring (I used 2)
2 drops green food coloring (I used 1)
3/4 cup buttermilk

Icing:
1 8oz package cream cheese, room temp
1 stick butter, room temp (I used 6 tbsp)
1 1/2 - 2 1/2 cups powdered sugar
1 tbsp finely grated lime zest
1/2 tsp vanilla extract
1/2 tsp lime juice (my addition)

Instructions:

Preheat the oven to 350 degrees.  Line muffin tin with 12 paper liners.  Whisk both flours together in medium bowl.  Beat butter in large bowl until smooth.  Add sugar and beat until blended.  Beat in eggs one at a time, then beat in the lime juice, zest and food coloring (batter may look curdled).  Stir in flour mixture alternately with buttermilk, beginning and ending with flour.  Spoon 1/3 cup batter into each liner.  Bake until tester comes out clean - about 18-25 minutes (depending on your oven).  Cool on a wire rack in pan for 10 minutes, then remove from pan to cool completely.

For the icing, beat all ingredients together in a medium bowl until smooth.  Add powdered sugar until icing reaches your desired consistency.  Spread or pipe onto cupcakes.

*Note about the self-rising flour – In my test run of these cupcakes, they came out very dense.  Turns out that even though my bag of self-rising flour was not expired, the baking powder in it was dead.  After consulting with my favorite peeps, King Arthur Flour, they gave me the breakdown of how to make my own.  To make 1 cup of self-rising flour, combine 1 cup AP flour, 1 ½ tsp baking powder and ¼ tsp salt.   If you don’t need a cup, then you do the math J  After making my own concoction, my cupcakes came out nice and fluffy!

IMG_1485
Sunday, August 22, 2010

minibar = BIG TASTE

Well I’ve been MIA for a while….and it’s not due to a lack of eating or drinking!  In fact, I’ve been doing more than my fair share – from Las Vegas to Cape Cod, not to mention minibar (http://cafeatlantico.com/miniBar/miniBar.htm) right here in DC.  If you’ve never been, start saving your pennies (more like dollars) now, because believe me, it’s worth every one you’ll spend.

For those of you who aren’t familiar, minibar is the 6 seat “restaurant” within Café Atlantico, one of Jose Andres’ many DC restaurants.   It’s actually more of a sushi-bar where you and the 5 other guests sit in front of the chefs and watch as they prepare each dish.  This is where chefs get to play with food.  It’s a meal of around 30 courses (the night we went it was exactly 30) each of which are about 1-2 bites.  While you do leave full, you aren’t disgustingly so.  The chefs get super creative, using techniques such as chilling ingredients with liquid nitrogen so they practically disappear in your mouth rather than melt.  They render ingredients down until they can be molded or shaped or piped onto a plate in any way shape or form they choose.  They spin fresh cotton candy right in front of you then serve it with something like eel or spider shrimp – certainly not something you’ll pick up on the boardwalk this summer!

Here are a few shots of the dishes….

IMAG0225

IMAG0226

IMAG0233

IMAG0220

IMAG0227 IMAG0229

IMAG0217 IMAG0235

A few things to know if you plan to go:

1)     1)   You must call to reserve a table 30 days in advance – so exactly 30 days from when you would like to go.
2)     2)   There are two seatings a night, one at 6:00 and one at 8:30.
3)     3)   The cost is $120 per person and there are several wine pairing options available, or you can just order by the glass.
4)     4)   They will alter their menu if you have any food restrictions (such as my allergy to shellfish).  Don’t worry, it doesn’t affect what the other guests eat – everyone around me enjoyed plenty of shrimp, crab, oysters, etc.
5)     5)   Be adventurous!  Remember, you are sitting right in front of the people who prepared the food – if you’re not willing to try new things, this may not be the place for you.  I say BUCK UP, its quite the experience!
Thursday, July 22, 2010

And the Chocolate Chip version....


Round 2 - the original chocolate chip recipe (see previous post).  Second set of scones, second office that got to enjoy them.  At this point its conclusive....these scones kick ass.  I still think the cinnamon version is better, but its all a matter of taste.  Enjoy!
Thursday, July 15, 2010

Cinnamon Scones - KAF does it again!

 Has everyone heard of King Arthur Flour?  If not - here ya go:  www.kingarthurflour.com   You're welcome and I'm sorry.

For anyone who loves to bake, this website will be your new BFF.  This is the second scone recipe I have tried from them and both were amazing.  Light, fluffy, not too dry and just the right amount of sweetness.  And if you're in a pinch, their bagged mixes are also delicious.  While I always advocate for making things from scratch, sometimes there is just not time....in those cases, go for the sour cream blueberry!

But seriously, KAF is the best.  They have hundreds of products you never knew you needed but now will feel you can't live without (hence my earlier apology for the strain you're about to have on your wallet!).  You can email them with all sorts of baking or even cooking questions and they will do their best to answer.  I wrote once asking about substituting one herb for another and I got a very friendly response back from someone named Irene in less than 24 hours.  Perhaps its time I just quit my day job, move to Vermont and work for them - god that would be awesome!!  But alas, I'll hang out here for now and continue fawning over them from afar.

OK - on to the recipe:

Ingredients
Adapted from King Arthur Flour magazine

Scones:
2 ¾ cups all-purpose flour  (I used 1 ¾ cup AP and 1 cup white whole wheat)
⅓ cup granulated sugar
¾ tsp salt
1 Tbsp baking powder
½ cup cold unsalted butter, cut into pats
1-2 cups mini chocolate chips  (I used about ¾ cup of mini cinnamon chips and it was plenty)
2 large eggs
2 tsp vanilla extract
½ to ⅔ cup half & half or milk  (I used 1% milk)

Glaze:
3 ½ cups confectioners sugar
7 tablespoons water or enough to make a thin glaze
1 tsp vanilla extract
¼ tsp ground cinnamon  (My addition since I was making cinnamon rather than choc chip)

Instructions

Whisk together all the dry ingredients.  Work in the butter just until the mixture is unevenly crumbly.  Stir in the chips.  In a separate bowl, whisk together the eggs, vanilla and ½ cup half & half (or milk).  Stir the liquid ingredients into the dry adding more half & half if the dough seems dry (you want it to be a little sticky).

Scrape the dough onto a well-floured work surface and pat it into an 8" square, about ¾" thick.  Cut the square into 16 2" squares then cut each square in half diagonally to make 32 small triangles.  Transfer the scones to a parchment-lined or well-greased baking sheet.  Chill in the freezer for 30 minutes, uncovered.

Preheat the oven to 425º.  Bake the scones for about 20 minutes or until golden brown.  Remove from the oven and cool completely on rack. *The recipe says you can then cut them in half again to make 64 tiny triangles - personal opinion is that they are already small enough, but do as you will.

Stir together the glaze ingredients.  Coat each scone with glaze and place on a rack to set.
**I happen to have one of the cute little mini-scone pans (yes, sold at KAF) so I skipped this whole shaping and cutting part.  My pan holds 16 mini-scones and I had just enough dough to fill it.  I baked them in the pan for 13-14 minutes and they were perfect.  Enjoy the raves from your co-workers, I have been!
Thursday, July 8, 2010

Hummus - Best Ever!


 This is "probably the best hummus I've ever had in my life".  That is the reaction I got when my friend (thanks WC!) had some of this hummus last Friday at our little jazz picnic.  Wow, what a compliment, huh??  Knowing this friend, I can tell you outright, it was the amount of cayenne pepper I added that made him like it so much....but that aside, this is truly some delicious dip.

I got this recipe from my co-worker.  I love hummus and have wanted to make my own.  I had hers at a party a couple years ago and coveted the recipe ever since.  When she gave me the recipe I immediately went home and made a batch....in a blender.....and it was a disaster.  Let me tell you what is not fun - trying to scrape thick pasty hummus out of a big blender with a sharp blade stabbing you in the hand every time you go in to scoop more out.  So, there went the hummus making for the time being.

Then, I was given a food processor for Christmas - woohoo!  This was my first batch using my new machine (I know, what the heck took me 7 months?) and it came out fabulously.  Here are the details along with my little tweaks:

Ingredients

1 15oz can chickpeas (reserve some liquid)
2 Tbsp lemon juice
½ cup tahini
¼ cup chopped yellow onion
2-3 cloves garlic
2 tsp olive oil
2 tsp ground cumin
⅛ tsp ground cayenne pepper (I use about a ¼ tsp for that extra kick!)
½ tsp salt
¼ to ½ cup nonfat plain greek yogurt (my addition and trust me, its essential for consistency)

Instructions

Combine all ingredients in food processor until smooth.  Use additional liquid from chickpeas, olive oil or yogurt until you reach desired consistency.  Refrigerate 3-4 hours.

Tuesday, June 22, 2010

Dinner with Spike - definitely "Good Stuff"

A couple weeks ago I attended a dinner at the National Press Club featuring Spike Mendelsohn, one of DC's current local celebrities (a former Top Chef-er).  He owns and operates Good Stuff Eatery (http://www.goodstuffeatery.com/), located on Capitol Hill, with his family and friends.  If you've never been, GO, and I can now definitively say that you should try the President Obama burger - yum! 

On all of my visits to Good Stuff thus far, I have ordered the same thing - the Farmhouse Bacon Cheeseburger and Fries...and sometimes the Toasted Marshmallow milkshake, affectionately referred to by many as "campfire in a cup", seriously, when you try it you'll understand.

After that dinner, I will definitely be exploring the menu more.  The dinner consisted of a 5-course meal, plus a reception with finger foods beforehand, plus a copy of Spike's newly released cookbook.  Did I mention that each of the 5 courses actually was at least 3 items?!  I was so full when I left that I decided to hoof-it the 2 miles home in order to avoid rolling on the floor and groaning while rubbing my belly!


A few things we had that you shouldn't miss.....chili and cornbread (particularly the cornbread - SO GOOD!), the classic wedge salad, the Milky Way Malt milkshake and of course the President Obama burger.  For all of you non-red meat eaters out there, you can get any of their sandwiches with grilled chicken instead. 
Wednesday, June 2, 2010

Spinach & Artichoke Dip - A Special Request

For years now my staple dish for family holidays, BBQ's, birthdays, or Sunday Funday with my friends has been my hot spinach & artichoke dip.  It’s deliciously cheesy and garlicky, and conveniently, very low carb (though not exactly low fat)!  Sure I've brought other dishes to some of these events, but I consistently get requests for this dip....well, this dip and my homemade chicken nuggets, but that's a separate post.

This particular request was from my sister.  She very graciously helped me design this blog as I am far from computer literate.  Her only stipulation was that I post this recipe.  So sis, I am finally delivering on that promise.  Enjoy and thanks again!!


Ingredients:
Recipe adapted from a Trader Joe's Fearless Flyer many years ago

1 can artichoke hearts in water
1 10oz. package frozen chopped spinach (my addition, original recipe was just artichokes)
1 cup mayonnaise (I use Hellmann’s Light)
1 cup shredded parmesan/romano blend
1 cup shredded mozzarella
1 tsp. garlic powder
2 tsp. crushed red pepper (optional)

Instructions:
Thaw spinach and squeeze out all excess water.  Drain water from artichokes and cut into small pieces.  Mix spinach, artichokes, garlic, mayo, parmesan/romano cheese and ½ cup mozzarella in a large mixing bowl.  Stir well.  Pour into a small glass baking dish (about 7”x5”) and sprinkle with remaining ½ cup mozzarella and red pepper.  Bake at 375° for about 25 min or until cheese is bubbling and browned.


* For enough to fill a 9”x13” dish, you will need to make about 3x this recipe.